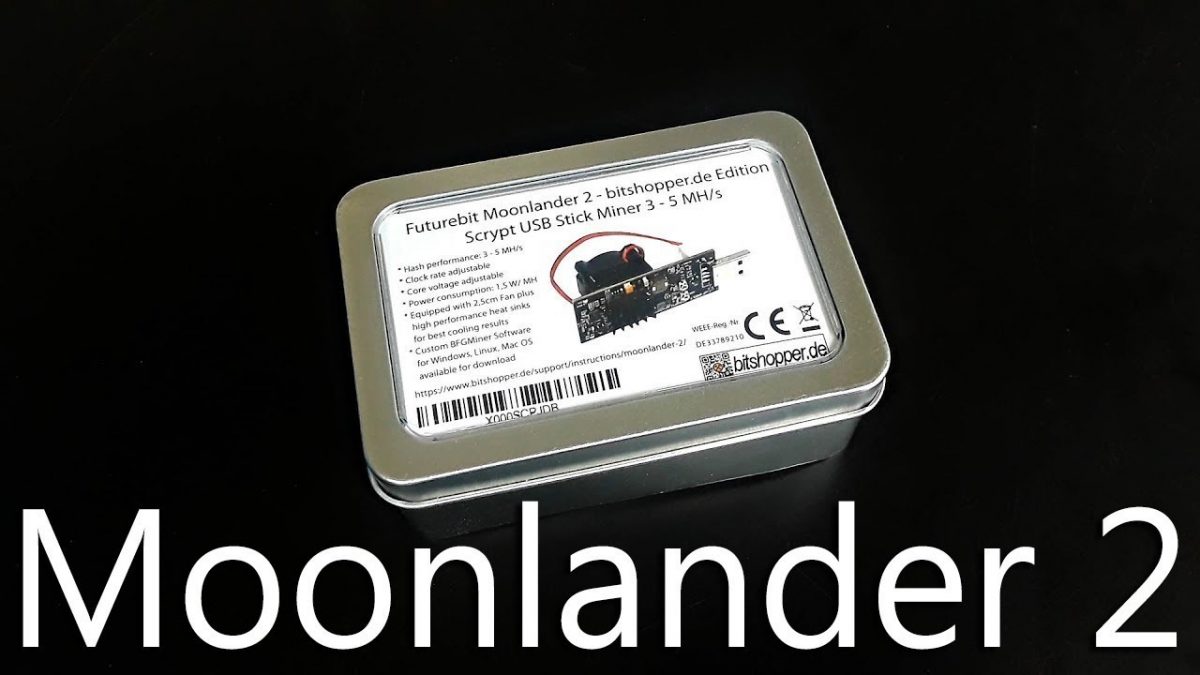
Using the FutureBit Moonlander 2
I have been experimenting with mining cryptocurrency over the past few months. My latest experiment is with The FutureBit Moonlander 2 a USB miner. Here are the instructions to install and use the miner, as well as, my results with it.
Things you will need:
The Plan:
The idea is, to install the miner, plug it into my USB hub, and let it run in the background of my work computer. I figure since I will be running it during the day when I’m working anyway so that the additional electricity usage won’t be noticeable – I’m guessing, I haven’t calculated my average electricity usage before installing or after to see the difference.
Instillation:
- The first thing you are going to need is to download a driver. Simply, download the file, extract it from the zip and install. The same as any other time you have installed drivers on your computer.
- Once the driver is installed, you will need to sign up with litecoinpool.org. I’m not going to walk you through that process as there are a few tutorials out there already on how to do it. Basically, just follow the steps. Also note that once you have setup your account, you will need to enter your payment address which will be the Litecoin payment address you have associated with your cryptocurrency wallet
- Here is a link to an article I wrote on cryptocurrency. About halfway through the article is a section of wallets.
- Now for the fun stuff, you will need to install the mining software. Before you download the miner from the GitHub, disable your antivirus firewall. Basically, all antivirus programs consider cryptocurrency miners a bad thing. You can re-enable it later and add an exception for it after everything is installed and running.
- Download the mining software and extract it from the zip file. I placed mine in my documents folder but you can put it wherever you want, such as the desktop, or some other folder.
- Once extracted, open the folder bfgminer… and and go to the .bat file labeled Start Moonlander 2, right click on it and select edit. This will bring up notepad.
- The two things you need to change are going to be where it has a – u and -p.
- The u is the username and the p is the password.
- Go back to Litecoin pool and you will need to add a worker if you haven’t already.
- Once you have a worker copy and replace the user and password from the .bat file. Be sure to have the full name. Then do the same for the password.
- Then save it.
- Before you run it, plug the miner into either your USB hub or simply the USB drive on your computer.
- The nice thing about this one is it has a built-in fan. Some of the others on the market you will need to purchase a fan to keep it cool.
- Now that the miner is plugged in, simply double-click start Moonlander 2 to get it running. Give it a minute or two and you should see your worker in the green and the speed rate on litecoinpool.org.
If it’s not working then you should see an error of some type of error as it runs. Two errors that I experience are:
- “bfgminer.exe’ is not recognized as an internal or external command.” I had to reinstall the drivers for this one to get resolved.
- “Please check the details from the list below of the servers you have input Most likely you have input the wrong URL, forgotten to add a port, or have not set up workers” This was because my unsername didn’t copy correctly. So doublecheck you have your username and password exactly as it should be.
For the results:
I previously did an experiment to see how much I could mine just running the scrip on my computer and it was about a quarter of the speed as the Moonlander is. It also had the negative impact of slowing down my computer. Since the Moonlander is doing the work, I’m getting four times the speed and it doesn’t slow down my machine. The only downside so far is I need to turn off my USB hub when I turn my computer off. Since the Moonlander has the built-in fan, as long as it’s getting power the fan will run.
Looking at the numbers so far, I’m not really going to make any money off this. I’m averaging less than a penny an hour when calculating the profit. It is possible to adjust the speed, so I am going to play with that a bit to see if I can squeeze any more out of it.
So, if you are looking to make money, probably not a good investment. But, if you want to start dabbling in cryptocurrency mining, which is what I’m doing, then it is worth it to get some experience dealing with editing scripts and doing the calculations.
Finally, you will need to re-enable your virus protection software and add an exception for the miner. I’m not going to walk through that process as it varies depending on which program you are using.
For a video walk-through of the instillation and setup process
Tags In
Related Posts
Leave a Reply Cancel reply
This site uses Akismet to reduce spam. Learn how your comment data is processed.
Categories


